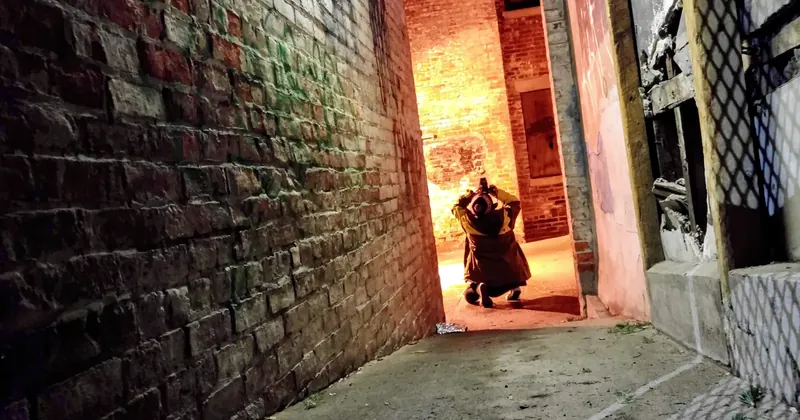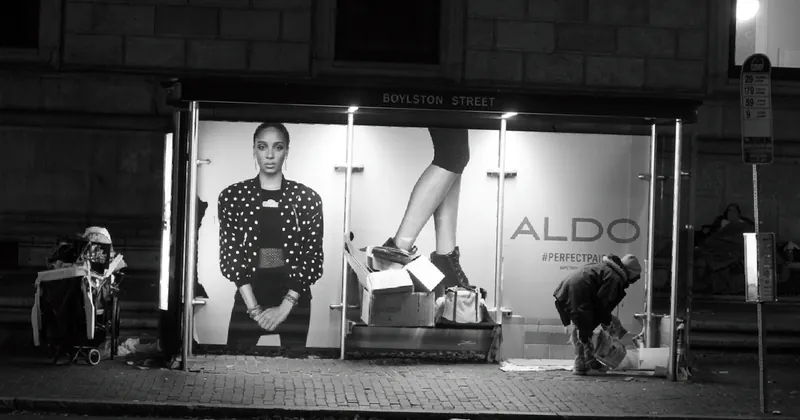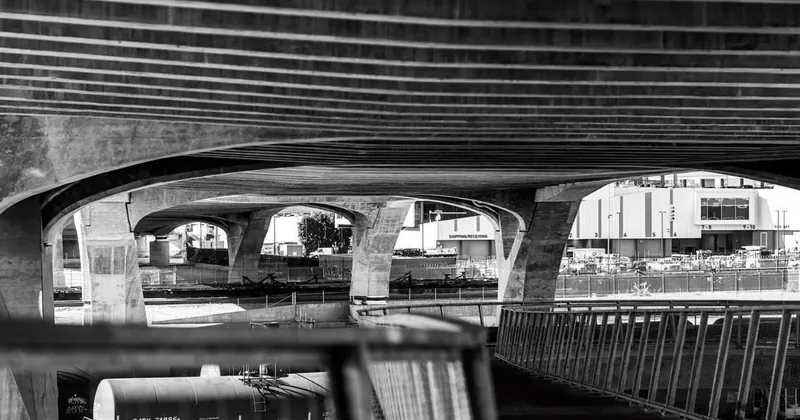


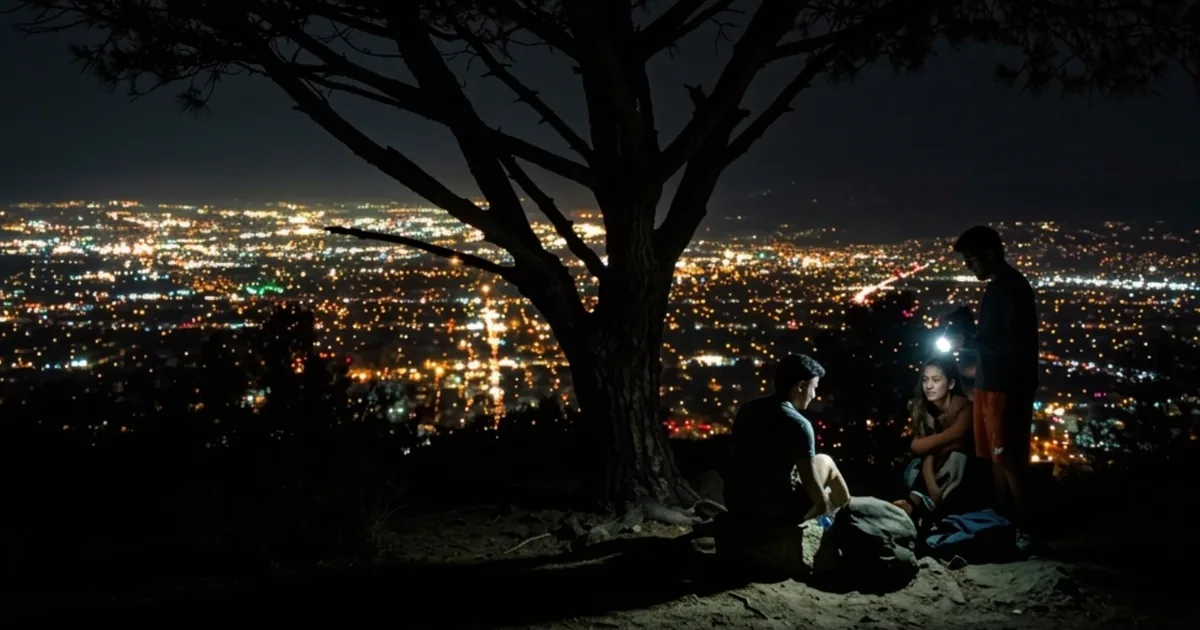
1. Use a Tripod
Low light means longer exposures, and handholding causes blur from camera shake. A sturdy tripod keeps you steady and your images sharp. Non-negotiable for night work.
2. Choose the Right Lens
Fast lenses with wide apertures (f/1.4, f/2.0, f/2.8) let in more light. Prime lenses usually open wider than zooms — excellent for night.
3. Master Manual Mode
- Aperture: go wide (small f-number) to gather light and get a pleasing shallow depth of field.
- Shutter speed: longer to capture light, but watch moving subjects — balance light against motion.
- ISO: raise it for sensitivity, but higher ISO adds noise. Find the balance; modern sensors handle it well.
4. Use Manual Focus
Autofocus struggles in the dark. Switch to manual and use focus peaking or magnified live view to nail sharpness.
5. Leverage Long Exposures
Long exposures create silky water, vehicle light trails, and star trails. Use bulb mode with a remote release or timer to avoid shake.
6. Experiment with Light Painting
Use a handheld light to "paint" a subject during a long exposure for surreal results. The key is practice — try different sources, movements, and times.
7. Understand White Balance
Streetlights cast color (often yellow/orange). Adjust white balance to correct it. Shoot RAW so you can fix it later without quality loss.
8. Utilize Bracketing
Shoot the same scene at several exposures, then blend them in post for a balanced image with full dynamic range.
9. Post-Processing
Lightroom and Photoshop earn their keep here: noise reduction for high-ISO grain, exposure tweaks for shadow/highlight detail, contrast and clarity for depth, and color correction for mood and accuracy.
10. Stay Safe
Scout locations in daylight, bring a friend or share your plans, and pack a flashlight, spare batteries, a charged phone, and warm clothing. Practice is everything — the more you shoot, the more night photography clicks.